How you can Reduce Energy Costs and Save a Buck
Solar is great, but aren’t there other ways to save money on your electricity bills?
Well, as a matter of fact, yes, there are! Installing energy efficiency measures – like LED lightbulbs – around your home and changing a few basic habits can drastically drop your electricity bills for much less money than installing solar.
Not to say solar is bad. Consider energy efficiency as a prelude to going solar. By reducing the amount of energy you consume, you can install a smaller solar system. Energy efficiency and solar go together quite nicely!
Let’s see if energy efficiency really is the cheapest option, and look at a few of the most cost-effective ways to reduce your energy costs.
#1 – Is energy efficiency really cheaper than solar?
In a word: yes. Again and again, studies find that energy efficiency is cheaper than installing solar, or even any other type of electricity generation.
The American Council for an Energy-Efficient Economy (ACEEE, a well-respected energy efficiency non-profit) published an article back in 2016 comparing the costs – for utilities – of different sources of electricity. They found that energy efficiency costs about $0.02 to $0.05 per kWh saved, while utility-scale solar (which is even cheaper than residential solar) costs about $0.06 to $0.07 per kWh. Here is a rundown of the findings:
| Energy Source | Cost |
| Energy Efficiency | $0.02 to $0.05 per kWh |
| Wind | $0.03 to $0.08 per kWh |
| Natural Gas | $0.05 to $0.08 per kWh |
| Utility-Scale Solar | $0.06 to $0.07 per kWh |
| Coal | $0.06 to $0.15 per kWh |
Quite literally, it’s cheaper for the utility to create and run a program to encourage customers to install energy efficiency measures than to generate electricity from any source, let alone solar.
Of course, that’s great for utilities, but what about us, the homeowners?
It’s easy to figure out how many kilowatt-hours of electricity a solar installation will produce – there are even easy-to-use online calculators for it. But finding out how many kilowatt-hours you can save by installing weather-stripping around your doors depends on too many factors that are unique to each house (number of air leaks, size of air leaks, gas vs electric heating/cooling, insulation, etc) to create a simple formula where we can just plug the numbers in.
Savings from energy efficiency measures can be harder to calculate. With that being said, if energy efficiency measures are cheaper than solar for utilities, you can rest assured that it’s going to be cheaper for you as well.
That’s not to say that ALL energy efficiency measures are cost-effective for homeowners. Some upgrades simply don’t pencil out financially. Case in point: Installing new energy efficient windows can certainly save you tons of electricity, but with their high cost, it rarely makes financial sense.
Of course, new windows look nice and can be less drafty, increasing comfort in your home, but their ROI is too long to really make sense purely from a cost/benefit perspective.
With some energy efficiency upgrades being cost-effective, and others not, how do you know what to do? Well, complete an energy audit!
#2 – Have an energy audit performed
Don’t know what steps to take to lower your energy bill? Not even sure what ‘weatherstripping’ is? Even if you are handy around the house, don’t blindly install efficiency upgrades in the hope of saving money – have an energy audit performed on your house.
During an energy audit, a technician walks through your house, noting any places where you’re wasting electricity. They can be very simple – old light bulbs or appliances, for example – or more complex upgrades – vapor barriers in your crawlspace, for instance.
Most likely, they’ll perform a ‘blower door test’ to check your home for air leaks as well – and can even perform the same test after your upgrades are completed so you can see the difference. Here’s a quick video rundown of how a blower door test works:
Once the audit is complete, your technician will give you an itemized, prioritized list of efficiency upgrades to perform on your house. Typically, the list will begin with the most cost-effective option (i.e. lowest cost for highest savings) and go from there.
Energy audits can get a little pricey, but thankfully many utilities actually provide discounts and rebates for having one done on your home!
For example, Xcel Energy in Minnesota offers energy audits for homeowners at 25% of the typical cost ($30 for a simple walkthrough, $60 for the standard audit with blower door test). Seattle City Light offers a very detailed DIY home energy audit (that anyone can use). National Grid in Massachusetts even offers a no-cost energy audit, so be sure to check out your own utility to see what’s available!
Installing these measures is the easy part, the hard part is knowing what to install. Energy audits take all the guesswork out of this process.
Now let’s quickly walk through some of the most common – and most cost-effective – efficiency measures, starting with the cheapest and ending with the most expensive (though honestly, it’s still pretty cheap).
#3 – Behavior changes to reduce energy costs
Typical Payback: Immediate
Changing your own behaviors to lower your energy use is THE cheapest way to save money on your utility bills. It’s totally free!
What do we mean by ‘behavior changes’? Here are a few ideas to get you going:
- Turn off the lights when you leave a room! Your home isn’t haunted – nothing is going to appear when you flip that switch. This one is so easy, but how many of us really do it every time?
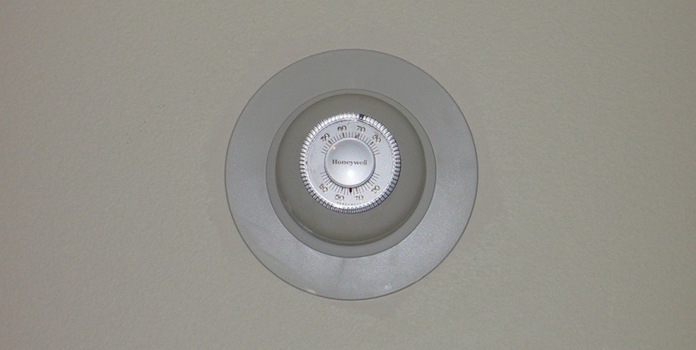
- Lower your thermostat in the winter and raise it in the summer. You can drop your energy use by 10% a year simply by lowering your thermostat 7 to 10 degrees from your normal setting for 8 hours a day. It’s so easy to turn your thermostat down (or up in the summer) when you leave for work, then up again when you get home. Not that disciplined? Get a $20 programmable thermostat from Home Depot, set it, then leave it alone. Your savings will really pile up!
- Lower your water heater temperature. If your water heater is set at 140 degrees, drop it down to 120. Having your water heater set too high can leave you with over $400 lost each year.
Taking just these 3 steps, and not even reading anything else on this list, can go a long way to reducing your energy use! Want to drop it even further? Read on.
#4 – Replace light bulbs
Typical Payback: 6 months
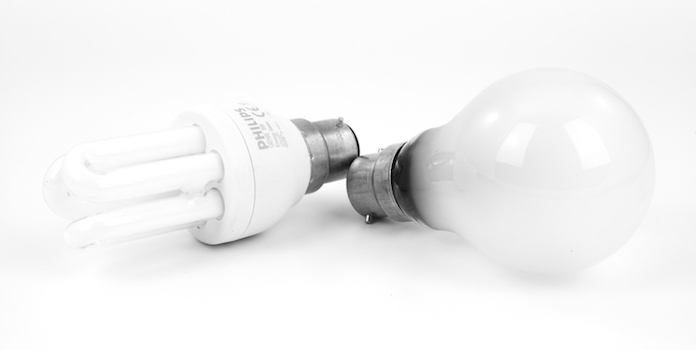
This one is so easy you’ll wonder why you didn’t do it before. Just unscrew your old, incandescent light bulbs and put in some new LED bulbs. With LED lighting technology developing rapidly, these new LEDs have a beautiful color quality that perfectly mimics the warm glow of incandescent (though you can also choose ‘daylight’ if you like a purer whitish-blue color).
While LEDs are much more expensive than incandescents, they use about 1/6 of the electricity (a 10 watt LED can replace a 60-watt incandescent) and are estimated to last about 20 years!
Let’s say you replaced a 60-watt incandescent that you use for 6 hours a day with an equivalent LED that uses 9 watts of electricity. You bought the LED for $5. At the national average electricity cost of $0.13 per kWh, you’d see an ROI after about half a year and save about 100 kWh each year. (If you want to calculate your own savings, LED lighting manufacturer Cree publishes a nifty savings calculator on their website.)
Already changed out all your light bulbs? You’re ready to move on to the next step!
#5 – Seal air leaks around doors and windows
Typical Payback: 1 to 2 years
Caulking and weather-stripping around doors and windows are another one of those efficiency measures that are so cheap and easy – and can save such huge amounts of energy – that you’ll be hitting yourself on the head for not doing it earlier. In fact, weather-stripping and caulking typically pay for themselves through energy savings in the first year alone.
Your air conditioner and heater use a lot of energy to condition the air in your home. Any conditioned air that escapes from the inside of the house to the outside is money just thrown away. Windows and doors are some of the biggest culprits for these energy black holes. Sealing air leaks involves caulking around window and door trim and installing weather-stripping on moving parts to ensure a tight seal when closed.
There are many different kinds of weather-stripping, each designed for different door and window styles, so you’re sure to find the exact one that fits your needs.
You don’t have to stop at windows and doors either. Unsealed electrical outlets, switches, baseboards, and bathroom and kitchen vents can all let conditioned air – and therefore energy dollars – escape.
#6 – Install insulation in key spots
Typical Payback: 2 to 12 years depending on location (floor, wall, ceiling)
While installing insulation takes a longer time to see a return than the other upgrades on this list, it offers deeper savings as well. In fact, up to 70% of your total energy bills goes to heating and cooling your home, so taking all the cost-effective options to drop that energy use is a wise decision.
The EPA estimates that installing insulation in key areas, as well as sealing air ducts, can drop your total energy bill by 11% – a huge saving for fairly minimal work that a skilled homeowner could do themselves.
While energy codes typically require insulation to have a certain R-value (or Resistance-value, a measurement of the insulation’s resistance to heat. The higher the value, the more efficient it is), installing insulation with higher values helps save money.
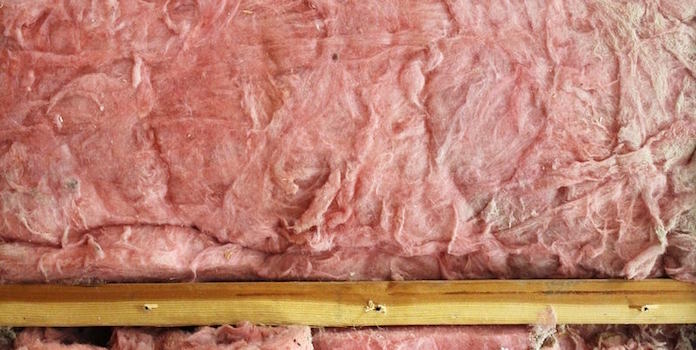
If you have 6” or less of insulation in your attic, consider adding more. If your home is older and you’ve got no insulation inside your walls or bottom-level floors (if your crawlspace is unconditioned) – for goodness sake’s, add some! Insulation comes in all shapes and forms: backed or unbacked, rolled, blown, and even rigid foam. It can all be a bit overwhelming! Talk to your energy auditor about the best options.
If you’re looking to reduce energy costs, look no further than efficiency. By far, it is the most cost-effective option – even cheaper than solar! Keep in mind, though, that not all efficiency upgrades are equal and some will save you more money than others. To know which ones to prioritize, have an energy audit done on your home. It will tell you exactly what you need to do. Once you’ve made the necessary changes, the hard part’s over and you’re ready to go solar!
Have you contemplated installing some energy efficiency measures? Have you changed your own energy habits? Tell us about your experiences in the comments below!
Image Credits under CC License via Pixabay – 1, 2, 3, 4, 5, 6

