The Basics of Off-Grid Solar
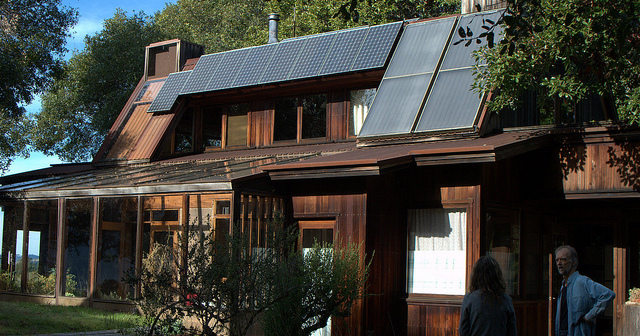
Have you ever considered the freedom and independence of off-grid solar?
Many homeowners see going off-grid with no connection to the utility and the ability to power your own life, as quite romantic.
But what does it really take to go off grid? What does an off-grid solar installation really look like? For most homeowners who are already comfortably connected to their utility and have reliable, fairly cheap electricity, what would the sense be in going off-grid?
Should I go off grid?
There are many reasons why people would want to install an off-grid solar installation:
- You can’t connect to the grid – If you live in a remote area that is too far from the electricity grid, it might not be possible to connect to the electricity grid, so you need to make your own source of electricity.
- Cost savings – Maybe you’re technically close enough to connect to the grid, but the cost to bring the power lines to your area is simply too high, so building your own solar installation is preferable.
- Energy independence – You want to have power over your own electricity. Maybe you want to go 100% renewable. Going off-grid certainly makes you energy independent.
Outside of these very specific situations, most homeowners probably don’t need to go off-grid. The overwhelmingly vast majority of homes in the US are already connected to the utility, and therefore most residential solar that is installed in the US is also connected to the utility. This creates an ultra-convenient situation for most homeowners – you produce and use your own renewable energy when the sun’s shining, but if your solar installation isn’t producing on cloudy days or at night, you simply pull electricity from the utility grid. It can’t get much easier or convenient than that!
Installing off-grid solar shouldn’t be done lightly, as you’d be passing up the convenience and reliability of the electricity grid and installing a fairly expensive setup. Then again, if you live in the mountains and have no other choice, it’s a fairly easy decision to make.
Related: Can you really save money with DIY solar panels?
The Basic Off-Grid System
The biggest difference between grid-connected and off-grid solar installations is where the electricity goes. All the different components of the two systems revolve around this.
All solar installations use solar panels to harvest sunlight to create electricity. Solar panels create direct current (DC) electricity. In grid-connected installations, the electricity flows from the solar panels to the inverter, which converts the electricity from DC to the alternating current (AC) used in our homes and by the electricity grid. After the inverter, it goes to our electrical panel on the outside of the house, where we can use it in our homes or send it to the grid for others to use (and hopefully make some net metering credits from the utility).
In off-grid applications, after being created by the solar panels, electricity flows to the charge controller and battery bank, where it’s stored for later use. If your off-grid home uses DC appliances, power simply flows from the battery to the appliances. Easy! If you have AC gadgets (like your laptop and phone) then you’ll need an inverter as well. Electricity flows from the battery to the inverter, then to your AC appliances.
For grid-connected installations, 100% of the electricity goes through the inverter. For off-grid systems, only as much electricity as you need to be converted into AC, goes through the inverter.
You can see how the end use of the electricity dictates what components are needed. All the electricity from grid-connected solar needs to be ready to send safely into the grid, so a large inverter is necessary to convert it from AC to DC. Off-grid homeowners need to store electricity, so it goes to batteries.
Off-grid Solar Components
As you’ve just seen, the components of an off-grid installation are pretty different than grid-connected systems.
Storage
Your batteries could look like this.
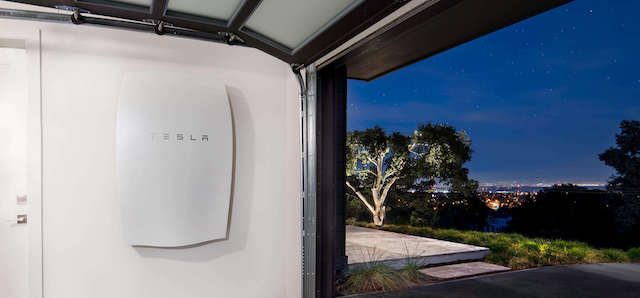 But they will probably look more like this:
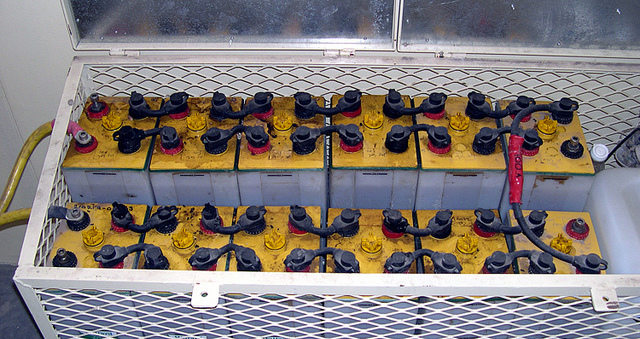
Unlike grid-connected installations, storage is an indispensable component of off-grid systems. This is probably the single biggest difference between the two. If you’re connected to the grid and it suddenly gets cloudy, you can simply draw power from the utility. Off-grid homeowners don’t have this luxury – if clouds roll in and block your solar panels, you have to switch over to your battery backup!
In the last few years, we’ve seen an explosion of interest in solar storage, as the price of solar panels and batteries continue to drop quickly. Batteries for solar installations are still dominated by two main types:
- Lead acid batteries: The old standard. They’re cheap and reliable, but don’t pack much of a punch in regards to how much electricity a single battery can dish out. To store a lot of power, you need a lot of batteries. Part of the issue is that you can only discharge lead-acid batteries to about 40% of their capacity or you risk damaging their ability to recharge in the future. Lead-acid batteries are great if keeping costs low is your biggest priority, but if you’re looking for high performance there are other batteries out there that might suit your needs better.
- Lithium-ion: These batteries are compact and powerful, which is the reason Tesla’s running them in their high-performance cars as well as the Powerwall II (see our Tesla Powerwall Review), their wall-mounted battery system for solar installations. Besides being compact and powerful, they’re also expensive. For your solar installation, plan on spending about twice as much on lithium-ion batteries than lead-acid batteries. The higher price of lithium-ion is balanced by an overall longer life as well as their ability to more fully discharge than lead acid batteries. Basically, you pay more for lithium-ion, but you can squeeze out more electricity on a daily basis and over the life of the battery!
Related: Building a DIY Battery Bank
As usual, the decision is a balance between cost and performance. You can’t pay Kia prices for BMW performance!
Inverter
Grid-connected homes have a single, large inverter outside the home that converts all the electricity produced by the installation from DC to AC. Anytime you use an inverter though, you lose a little bit of efficiency. Most modern inverters are around 94% to 99% efficient – not a huge loss, but even still, that’s lost energy.
Off-grid systems need to be as efficient as possible, and to increase efficiency many off-grid homes use DC refrigerators, lights, and other appliances. This means that less electricity needs to be converted to AC, leading to a smaller (and therefore cheaper) inverter and less wasted electricity.
Charge Controller
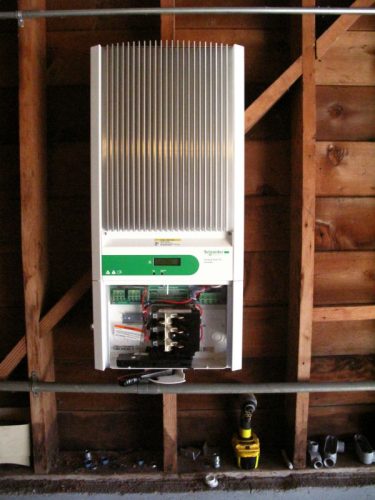
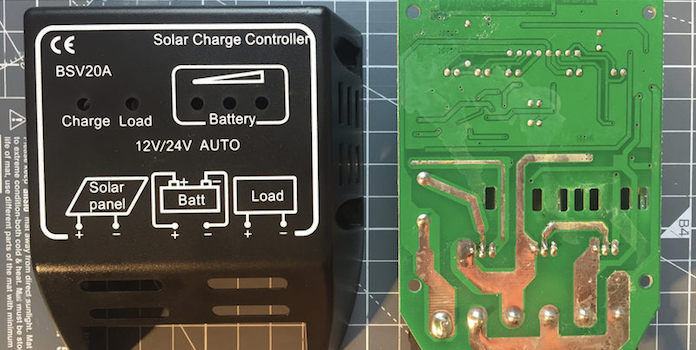
Charge controllers aren’t found on grid-connected solar installations, but they’re an integral component of off-grid solar applications. It’s a piece of equipment installed between the solar panels and batteries. They’re designed to protect your expensive batteries by regulating the flow of electricity from the solar panels to the batteries. They prevent the batteries from overcharging, which can lead to permanent damage and decrease the effectiveness and life of the batteries.
Most charge controllers these days come equipped with maximum power point tracking (MPPT), which optimizes the current coming from the solar panels to extract as much energy as possible. In fact, MPPT can increase an installation’s production by as much as 30%!
Solar Panels

There’s no special solar panel for off-grid installations – the same solar panels can be used in grid-connected or off-grid applications. When choosing your solar panels, you’ll also want assess if there’s any special considerations for your situation. Will you install your panels on a remote mountain cabin? If so, consider more beefy solar panels (like Canadian Solar) that have a higher snow rating than most. If your panels will see extreme temperature changes, take a look at SunPower’s solar panels, which have extra-strong electrical connections for just this sort of situation.
If your installation isn’t going to see any extreme situations though, save your money! Pretty much any solar panel from a well-known, reputable brand while suffice.
More: What are the best DIY solar panel kits?
Next Steps
You’ve decided that it’s time to install an off-grid solar installation? Here are some next steps to help you along in the process!
Step #1: Take time to calculate your load
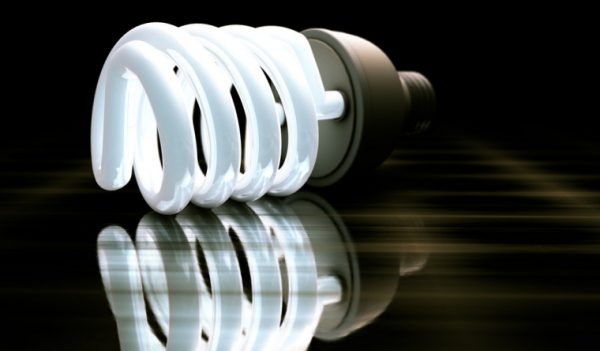
Image Credit: via FlickR under CC License
For grid-connected solar installations, homeowners may try to size their solar installation to cover 100% of their historical energy use (but not necessarily). So, for example, if you used 12,000 kilowatt-hours (kWh) in the last year, then you build a solar installation that will produce 12,000 kWh each year.
Off-grid solar is no different, except for one key difference: most off-grid installations are installed on homes that previously didn’t have electricity. The only real issue with this is that you have no data on your energy use to base your installation size on. So instead of looking at energy use, off-grid homeowners planning their installation look at the electricity draw of devices and appliances that will be used in the home, estimate how often they’ll be used, then add up all the electricity throughout the year.
So for example, let’s say you will install 8 9-watt LED lightbulbs in your cabin and you estimate you’ll use each one for about two hours every day. Your math would look something like:
(8 bulbs*9 watts)*2 hours*365 days = 52,560 watt-hours per year (equal to 525 kWh)
So those 9 bulbs would use about 525 kWh each year.
Does it seem like a lot of work? Well, now do it again for your refrigerator, dishwasher, water heater, laptops, phone chargers, and everything else you use on a daily basis. No one said planning an off-grid solar installation would be easy!
There are many online calculators to aid you in this process (though they’re often tied to solar equipment sellers, like affordable solar and Wholesale Solar). They help with the math as well as keeping all your estimates in order. A tip for those planning out their installation: you can usually find the wattage on the back of appliances and gadgets. Better yet, you can buy a tool that tells you exactly how much energy your appliance is using at any one time. Once you finish adding all your electric devices, you’ll have a pretty good idea of how big your solar installation needs to be. Go try it out!
Step #2: DIY or Installer?
Many off-grid homeowners choose to DIY their solar installation. You’ll spend much less installing the equipment yourself and, once it’s complete, you’ll know the system backwards and forwards so if anything goes wrong in the future, you’ll be able to troubleshoot much more easily.
DIY requires a huge amount of knowledge, not just about how solar energy and all the installation components work, but also about roofing, building codes, and safety precautions. Don’t forget that you have to actually get up on the roof and install the panels too! It’s certainly doable, but takes a lot of research, planning, and knowledgeable execution.
Of course, you’ll pay much more hiring an installer, but you’ll be able to relax with the assurance that the installation is safe and functioning properly for years to come.
Choosing between DIY and an installer is really just assessing what your needs are. Do you need to cut costs as much as possible and don’t mind research and physical labor? Or, do you want a faster, easier, but more expensive installation process? Make a list of the pros and cons of each method to help you choose!
Step #3: Find Experienced Contractors
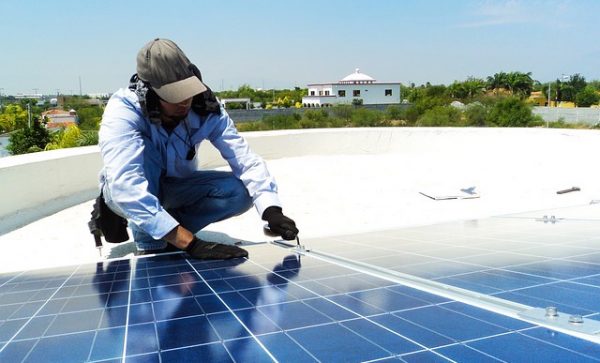
If you decide to move forward with installers, be sure to find a reputable solar installer with experience in off-grid installations. Depending on your area, this could be quite tough as the vast majority of solar is grid-connected and, as we’ve seen, there are vast differences in the components involved.
Working with an installer that focuses on off-grid solar, or at least has installed off-grid before, will ensure your installation is timely, well-built, and safe. Less experienced installers might be cheaper, but the money you save might be overshadowed by the additional time and headaches it takes. In the end, if you hire an installer, it’s probably best to hire a company with at least a couple off-grid systems under their belt, if only for your own peace of mind.
More: The basics of solar panel installation.
Conclusion
There you have it – going off-grid and all it entails! Why not give us some feedback on what you experienced or feel free to ask us any further questions below.
Image Credits under CC Licence: Top image – Flickr; Solar Charge Controller – Flickr

